
Mash
Mash time! Nope, I’m not talking about that fun game you play in elementary school to predict your future material wealth! This is a mish-mash of two patterns together to make a new and awesome non-frankenstein pattern.
The two patterns I mashed this time are the George and Ginger Clover Dress and the George and Ginger Rave Top. I also grabbed my Crimson Dress pattern to draw out the length of the natural waist on the bodice pieces.
The Clover dress waistband is somewhere in between an empire waist height and a natural waist height. I wanted the waistband to come to my natural waist, so I extended the bodice down a bit.
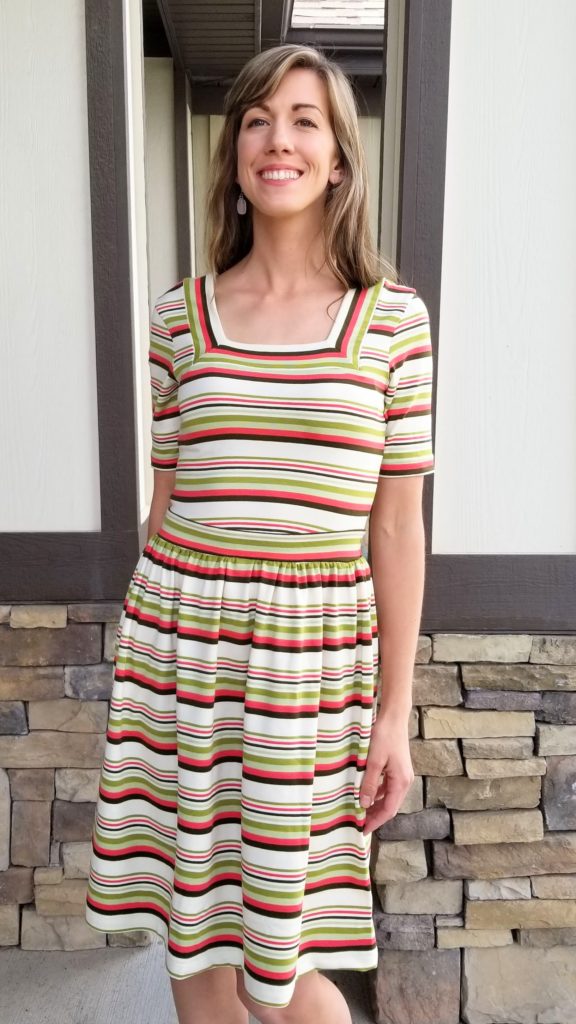
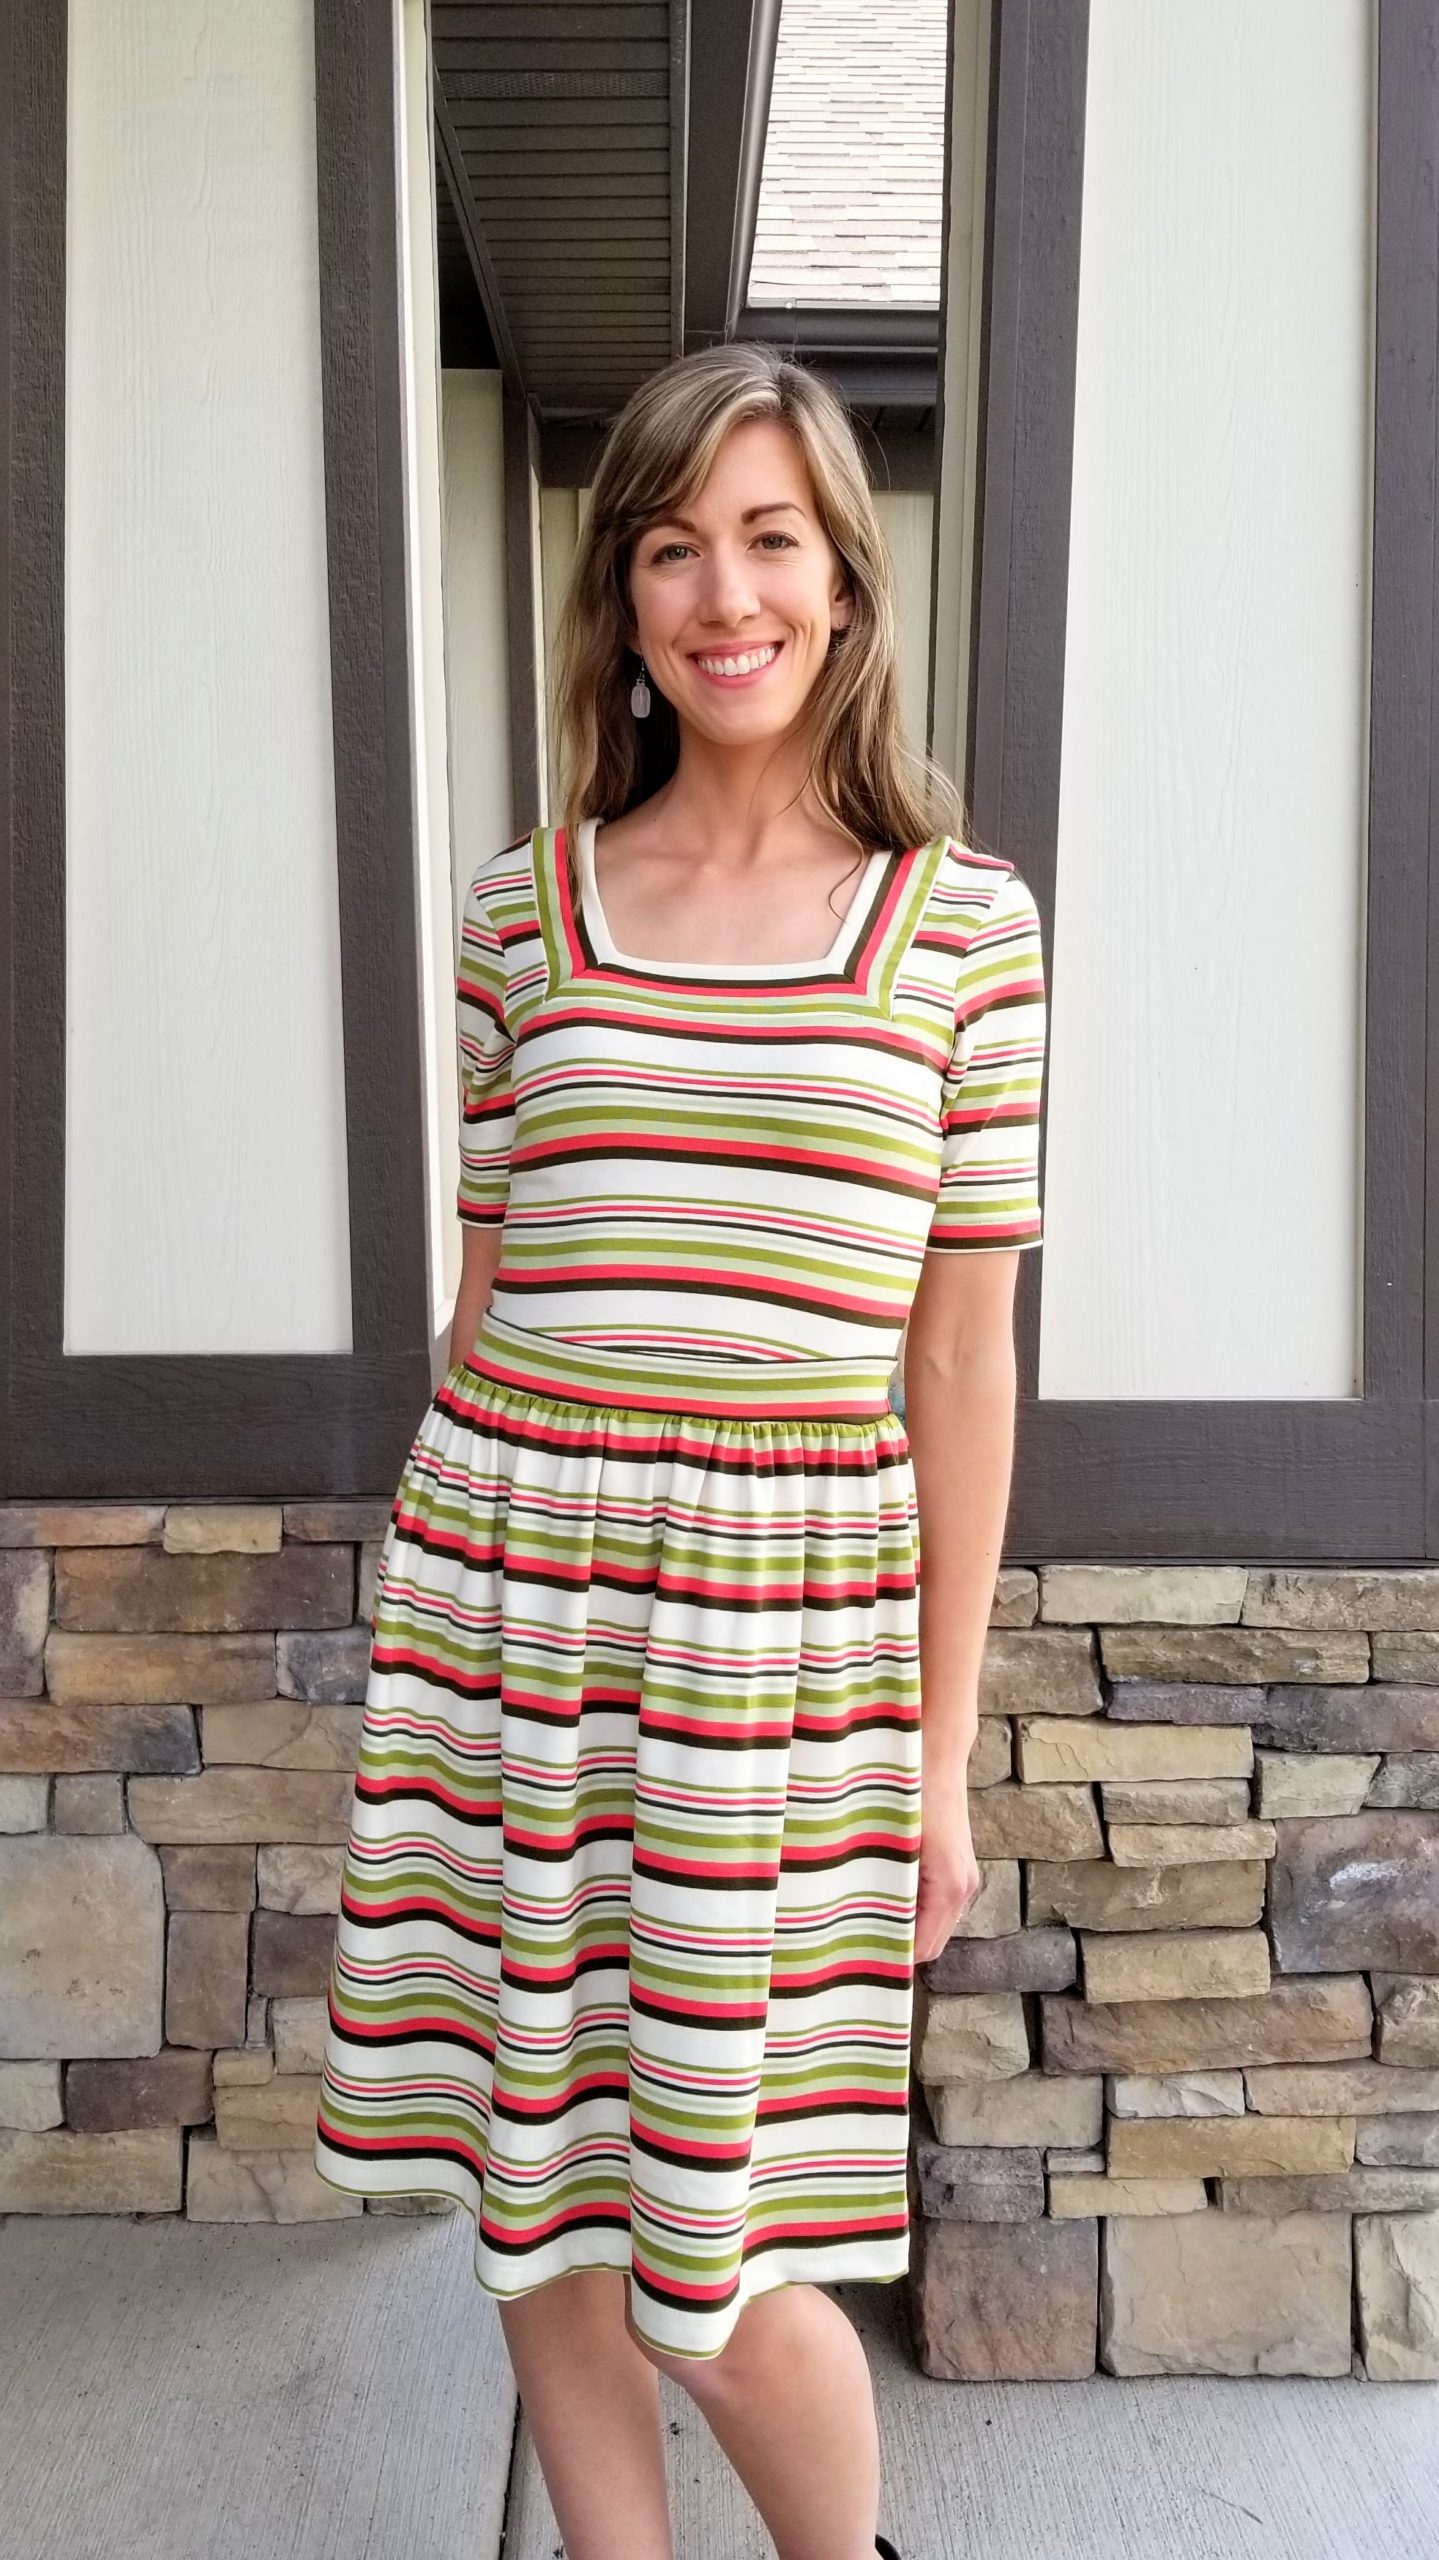
Square Necks
I love square necks on dresses. I’ve been wanting a dress with a square neck for a while. So many of these beauties come across my Instagram feed, and I’m just a bit jealous every time I see one.
The George and Ginger Rave Top was updated a few months ago with the new bodice style as well as extended sizes. You can read about my original Rave Top make HERE. Keep in mind that the Rave Top actually comes with three different necklines, so the one I made in that post was a scoop neck.
I actually did make a square neck during the update, but the pattern pieces were changed after I made that one, so I never posted about it.
Plus I was doing some crazy grading changes to try to figure out my new size after a slight weight change, and I got it wrong on that shirt. Oops. (If you are curious, I just sized down too much in the shoulders and bust area which made the shoulders too narrow and the fabric too high up in the armscye).
Learning
But truly, I learn something new with every single sewing make I complete. Whether it’s some simple sewing technique, a new way of making a fit adjustment, or just gaining a steady hand and foot with my machines – every project gives a little boost to my sewing skills.

For you beginners, don’t worry if you are still making lots of mistakes and don’t yet feel confident in sewing each new pattern. Dive in, make those mistakes, and learn from them!!
Even I sometimes feel intimidated by new and complicated patterns or sewing with different types of fabrics. When I made the P4P So Classic Sundress (blog post too!), I had been sitting on that pattern for almost 2 years before I got the confidence to make it. But I’m sure I could have wrangled that dress the prior year!
Clover and Rave Pattern Options
Clover Dress Pattern
The Clover Dress originally has quite a different neckline that comes up much higher on the neck and also includes a fun split cowl.
The drafted pattern waistband hits midway between an empire waist and the natural waist. Here’s my first Clover Dress made straight from the pattern 2 years ago:

Sleeve options are:
- Sleeveless with bands
- Short Sleeves
- 3/4 Length Sleeves
- Long Sleeves
Skirt Options (all gathered):
- Tunic Length
- Knee Length (noted as dress length)
- Maxi Length
There are also really cute waistband accents with buttons that I actually made for the dress above, but didn’t have time to attach to that dress before I took the pictures for it. You can see the cute waistband accents in the listing photos on some of the dresses HERE.
Rave Top Pattern
The Rave Top is a pattern that I wanted for a few years, but kept giving myself other sewing excuses not to buy it yet! But that square neck!! I kept coming back to it. So, I was super excited when Kristi, the Owner/Designer of George and Ginger updated the pattern along with the Goth and Grunge Collection Patterns, you can see my post about those patterns HERE.
Options for the Rave Top include –
3 Different Necklines:
- Scoop Neck
- Angle Neck
- Square Neck
Sleeves:
- Short Sleeves (closer to a half sleeve)
- 3/4s Length Sleeves
- Full Length Sleeeves
Bodice Lengths:
- Crop Top
- Full Shirt Length
How I Mashed the Clover and Rave Patterns
So, the first thing I did was to trace the Rave Top bodice pieces, both front and back, onto a big sheet of paper.

I got a big roll of craft paper from the dollar store a while back which I’ve been using for pattern modifications. If you don’t have a big roll of paper, you could use big construction paper, or just tape whatever kind of smaller paper you have together!
Next slide your Clover Dress bodice piece up to match the armscye and side seams of the two bodices together. In the picture below, I hadn’t slid the bodice piece all the way into place yet, they should match up perfectly at the top.
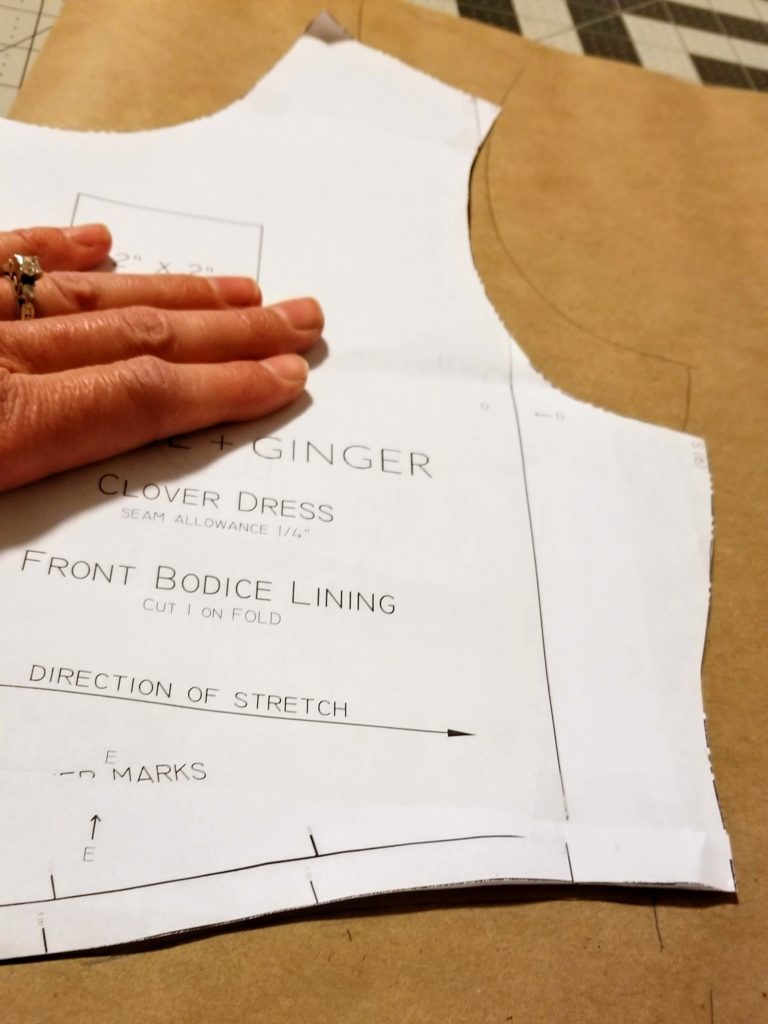
The bodice should be smaller at the waist than the Rave Top pattern you traced. So, you will want to trace the Clover Dress waist onto your paper.
Natural Waist Change
If you want the dress to come to your natural waist like I did on mine, you will need to extend the bodice down further. I actually used the Crimson Dress as a reference (you can see my post on the Crimson dress HERE).
You can use any other dress pattern that has a seam at the natural waist (just make sure to allot space for the waistband if your other pattern doesn’t include one!). Or, you can just add length to the bodice pieces by cutting them below the bust line and adding your needed length to get the bodice down to your natural waistline.
Your final bodice pieces should look similar to my picture above! And cut it out. Now, all you have to do is cut your fabric.

Which Sleeves?
I used the Rave Sleeves for this top only because I had them cut to the right size. You could use either sleeves and it would work find as the armscyes are the same.
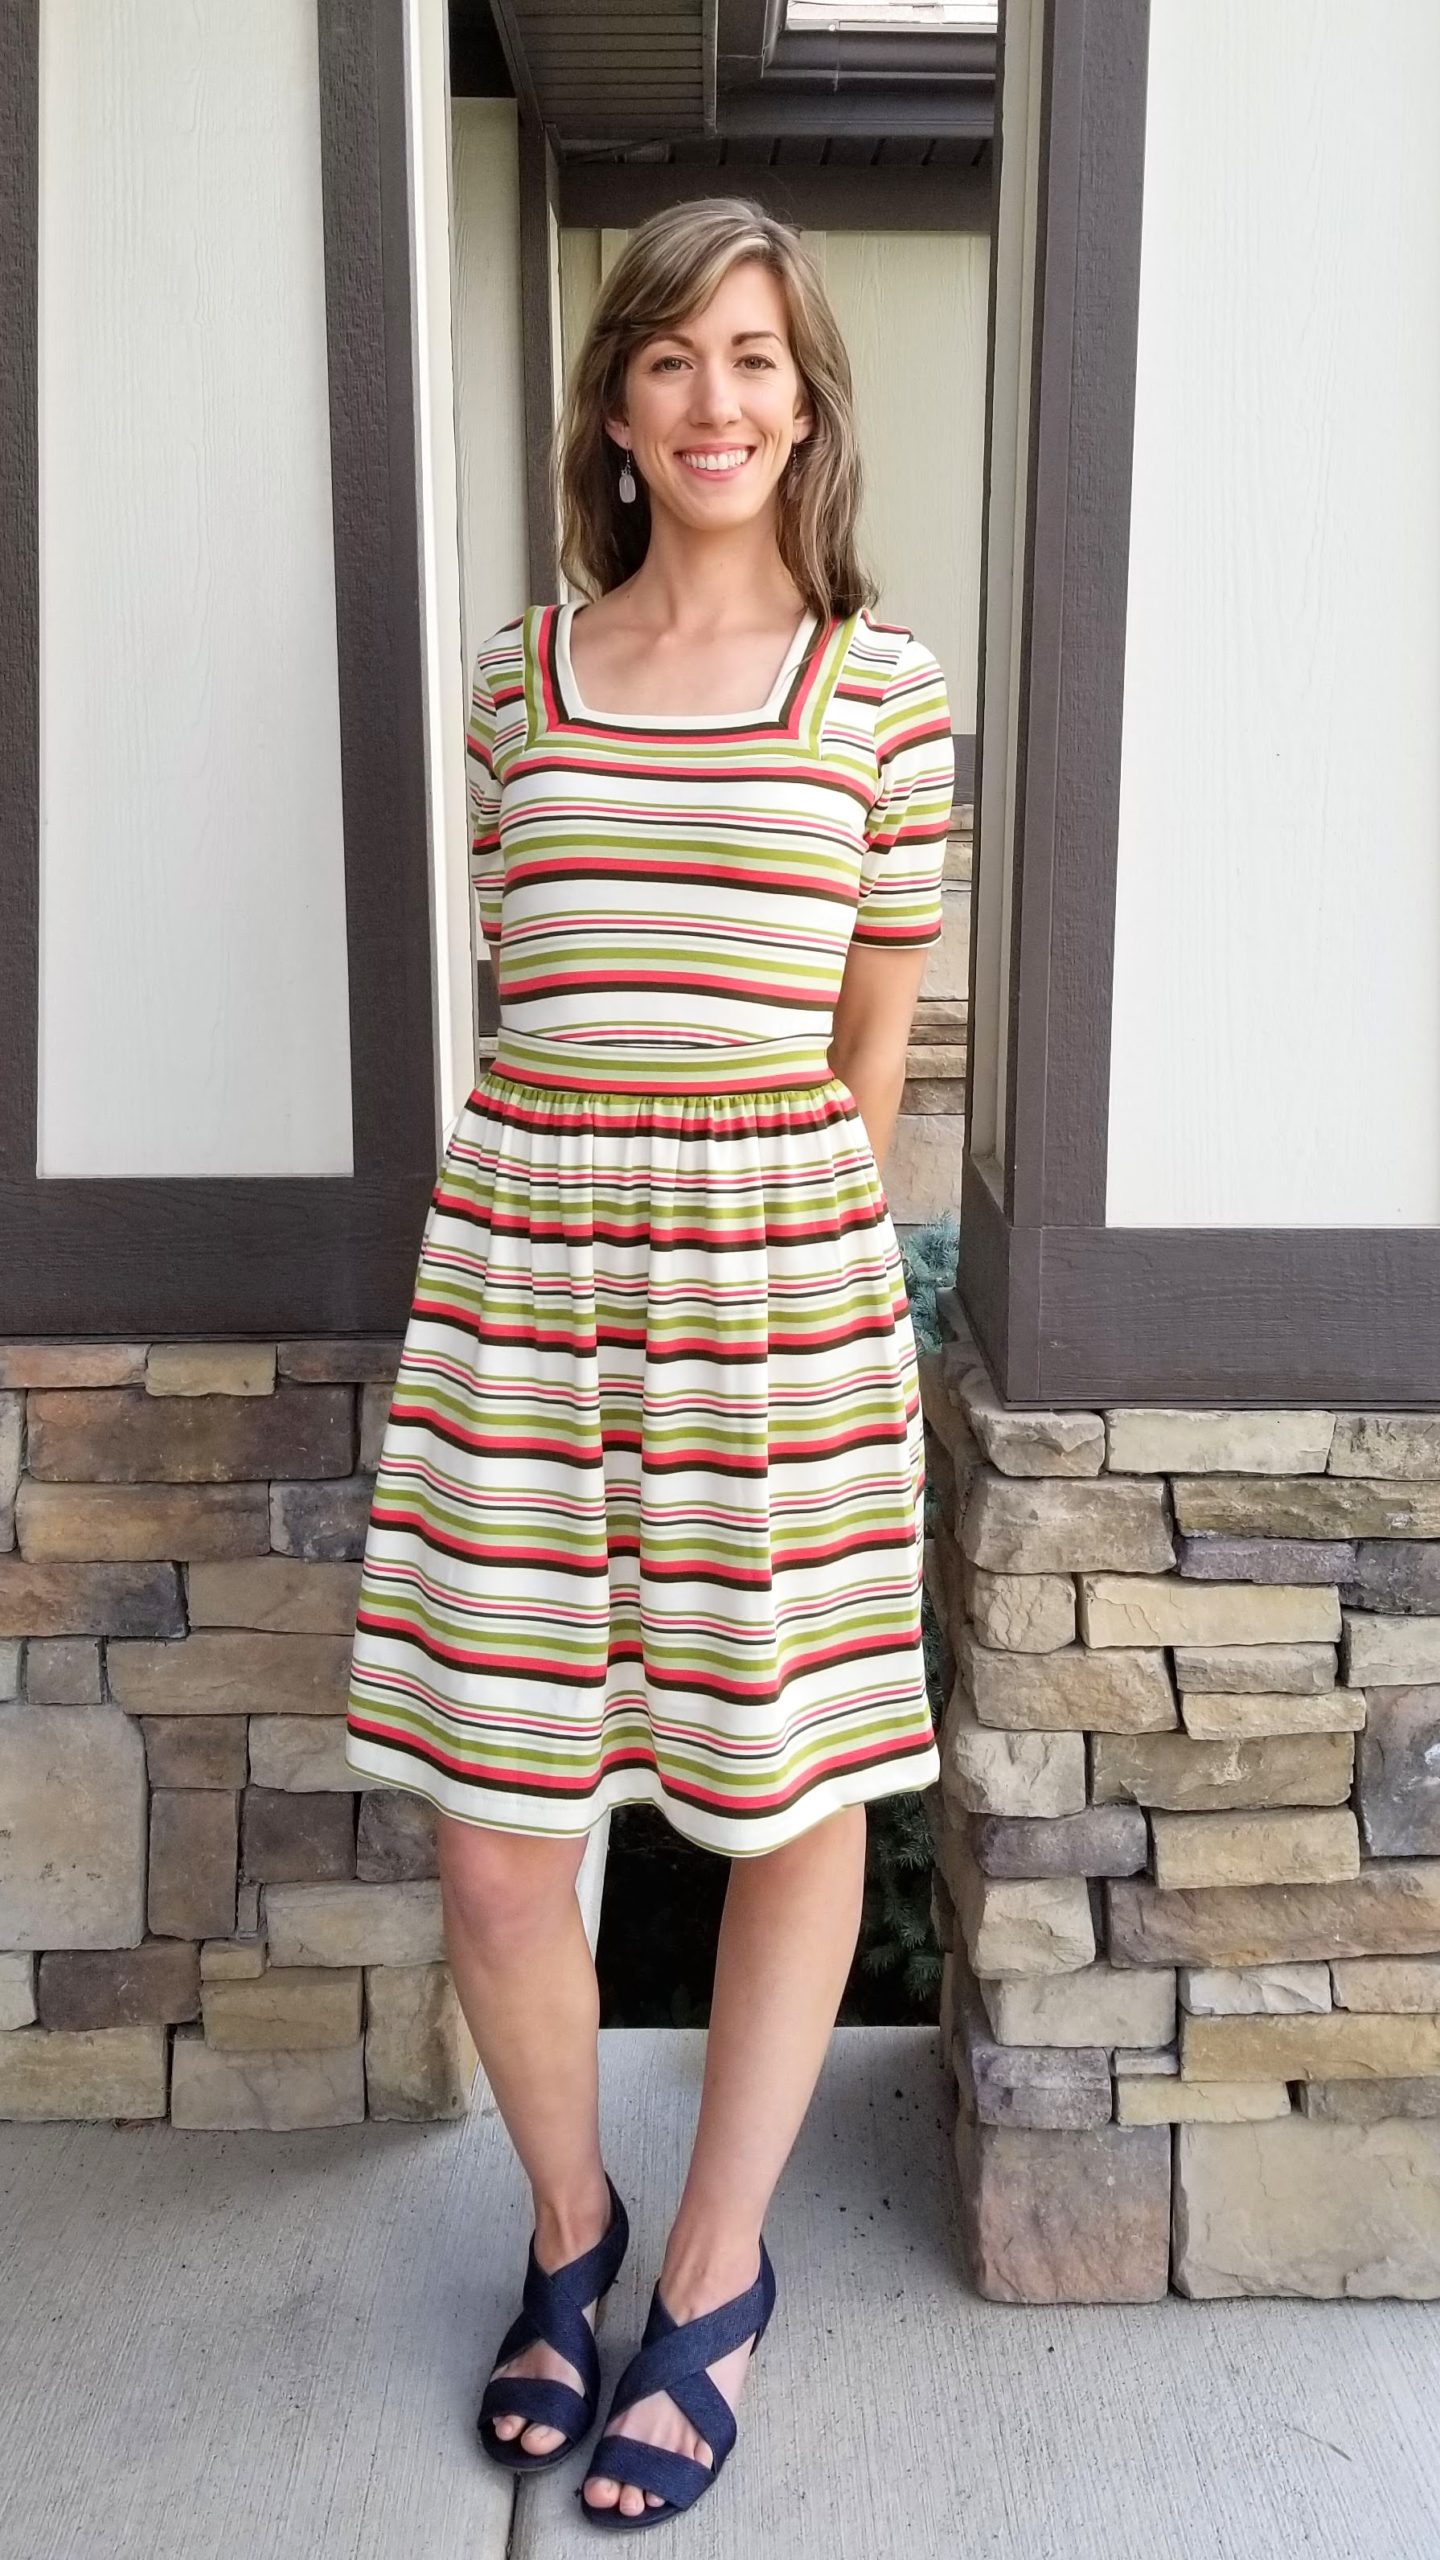
The half sleeves sounded cute, so I went with them on this make!

Fabric
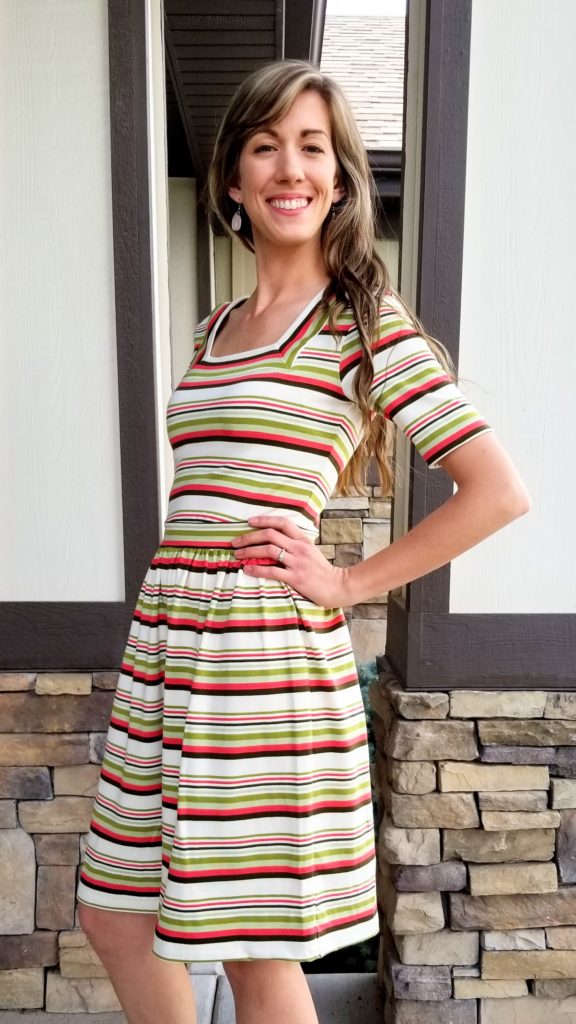
This is a cotton spandex fabric I picked up from Girl Charlee Fabrics a while back. It wasn’t my favorite print, but I think it was something like $3.20/yd and when you are trying something new, it’s best not to use your most expensive fabrics!!
I think the stripes made the dress feel more casual, which I like since I mostly romp around the house and yard with my little kids anyway!
A Tip on the Rave Pattern
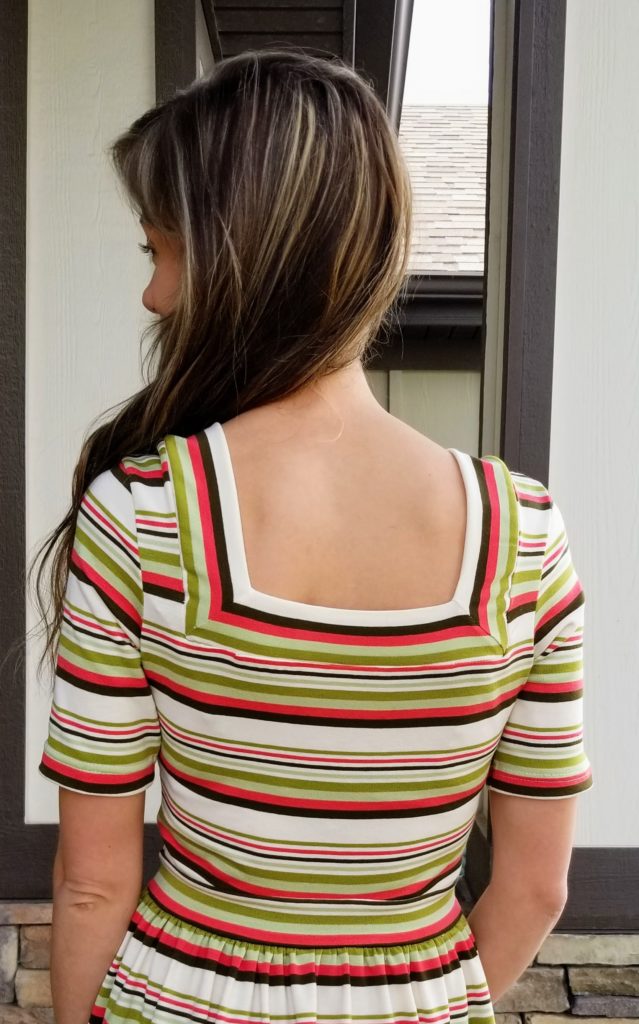
The Rave Top square neck is the same on the front and back. The bodices are different front from back, but it would be REALLY hard to tell after it’s sewn up.
So, what’s the fix? Be sure to mark your front and back pieces with notches or with pins/clips after you cut the pattern pieces out. Then add a little tag at the back with knit fabric or a little piece of elastic.
I marked mine with clips – 1 for the front, 2 for the back. And then added a little scrap of knit fabric to the back before sewing the neck binding pieces.
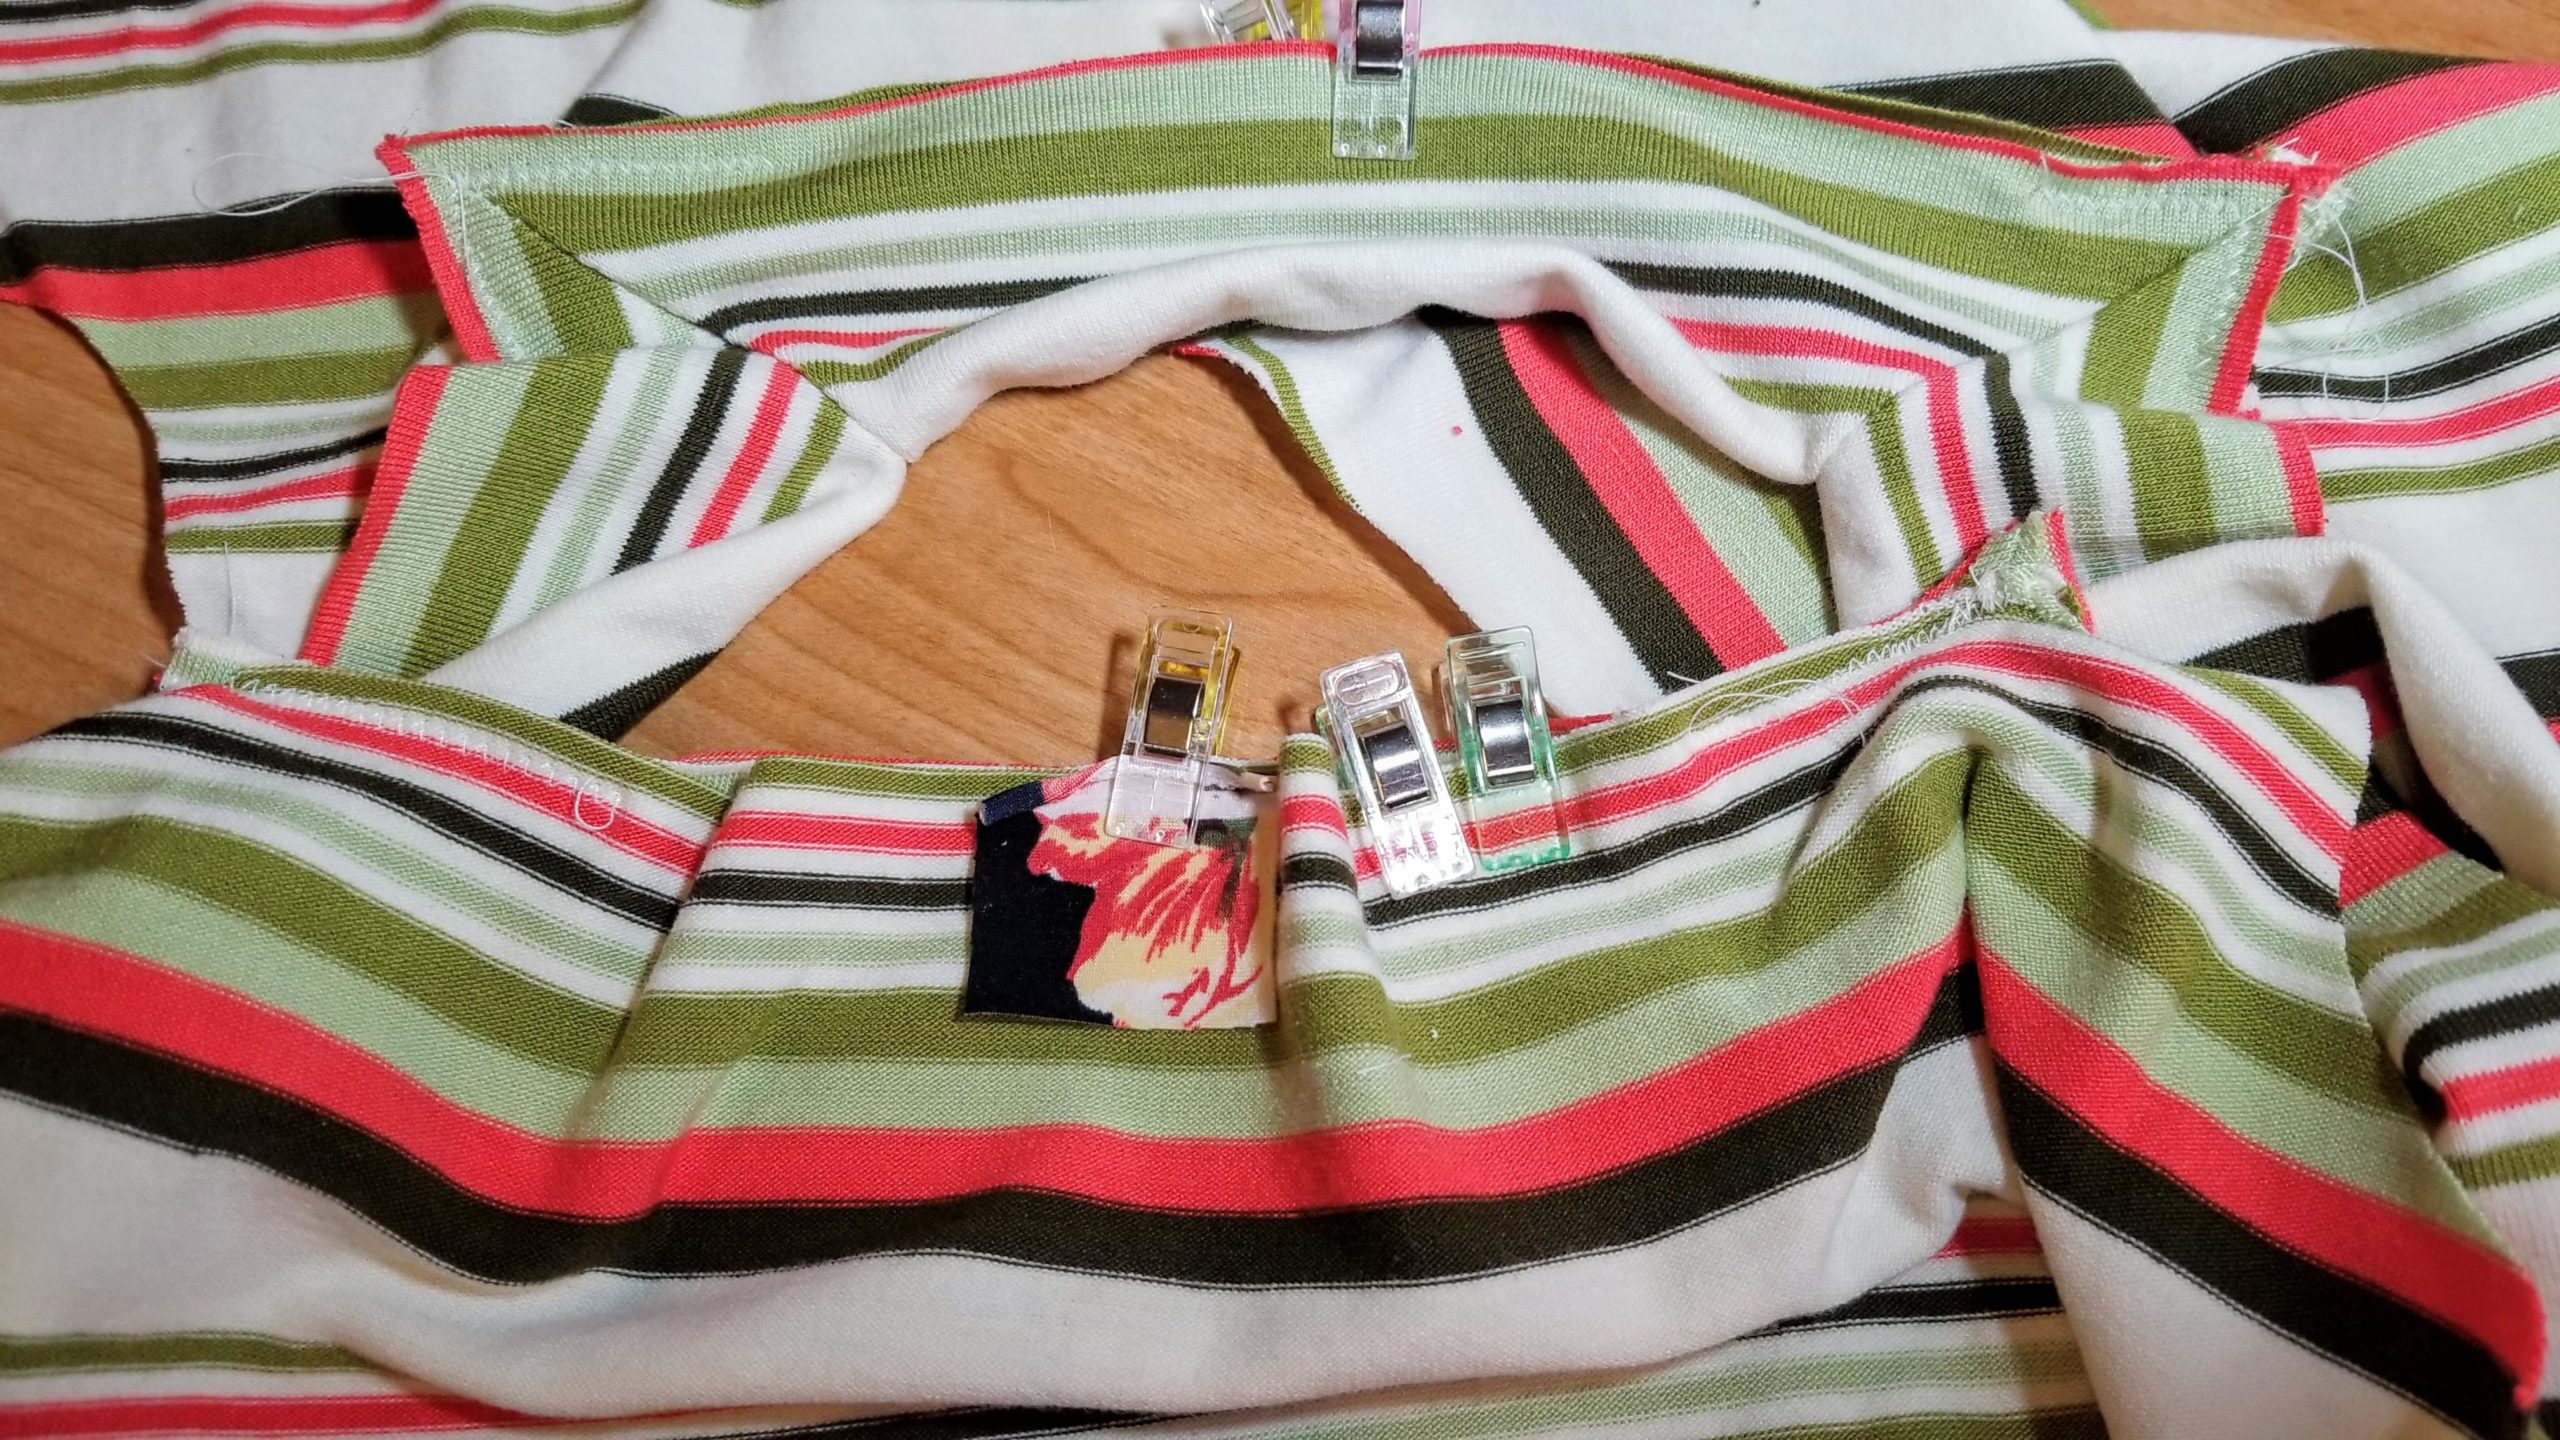
Voila! The back has a tag.

Find the Patterns
If you are interested in doing this mash up, you can find both patterns on the George and Ginger Website:
If you have any questions, please feel free to ask in the comment section below!!
Happy Sewing!
This post contains affiliate links.


I love this, the fabric was a great choice
Thank you!
Looks great! I love square necklines too
Thanks! Yes, they are so unique. I think I need a few more!