

Follow or Share the Hobby Love!:

Attaching a neckband onto a garment is not difficult per se, but it does take some practice. Follow these steps, take it slow, and you’ll get it down in no time.
I have outlined the process for quartering and pinning/clipping the neckband in pictures, and then a video for how to sew/serge the neckband on.
If using a sewing machine instead of a serger, it’s the same process, just use a stretch stitch and you may just need to trim the seam allowance as a sewing machine won’t do that for you.
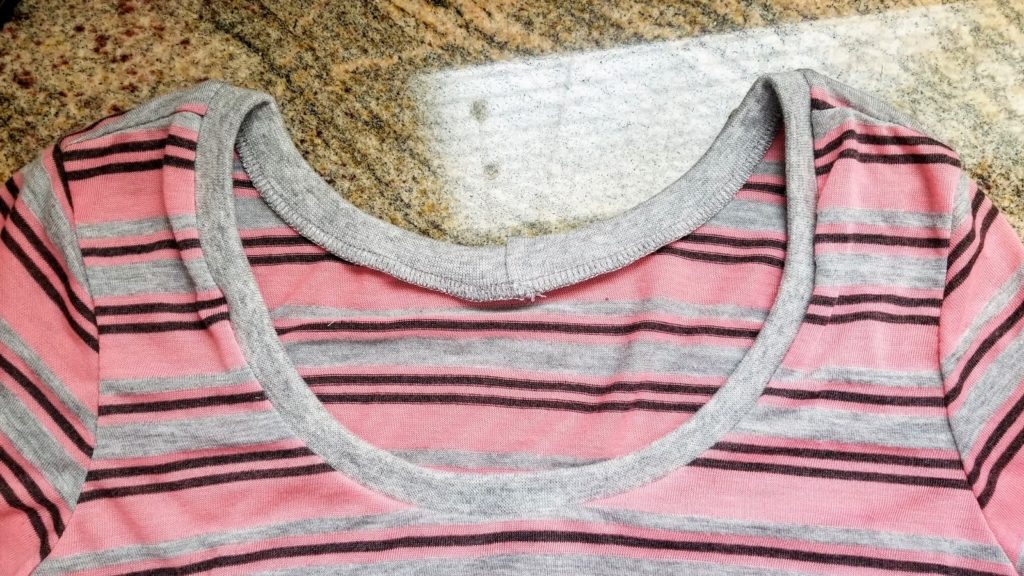
1. First sew the short ends of the neckband right sides together. You should now have a large loop. Then fold wrong sides together along the whole length of the band.
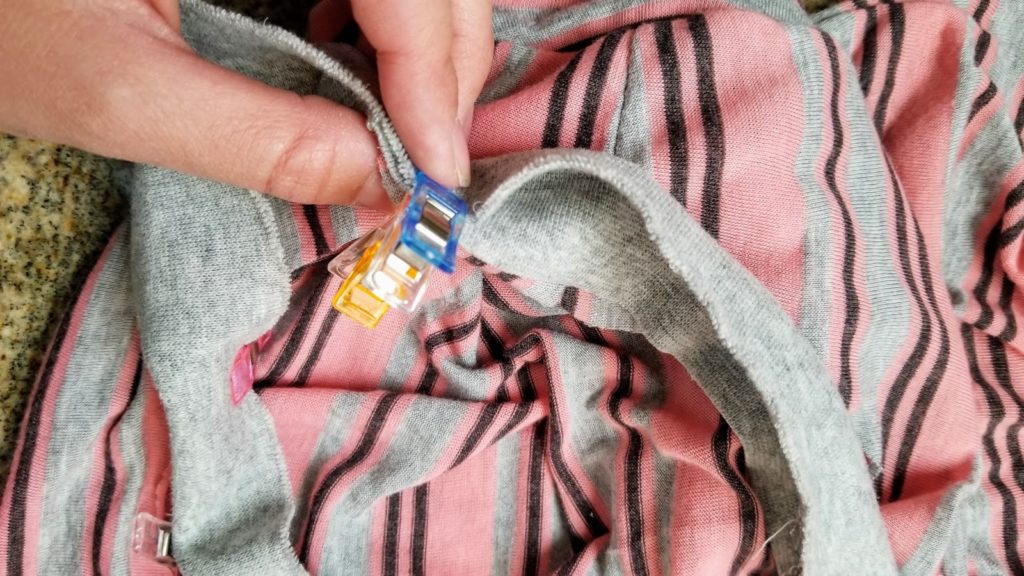
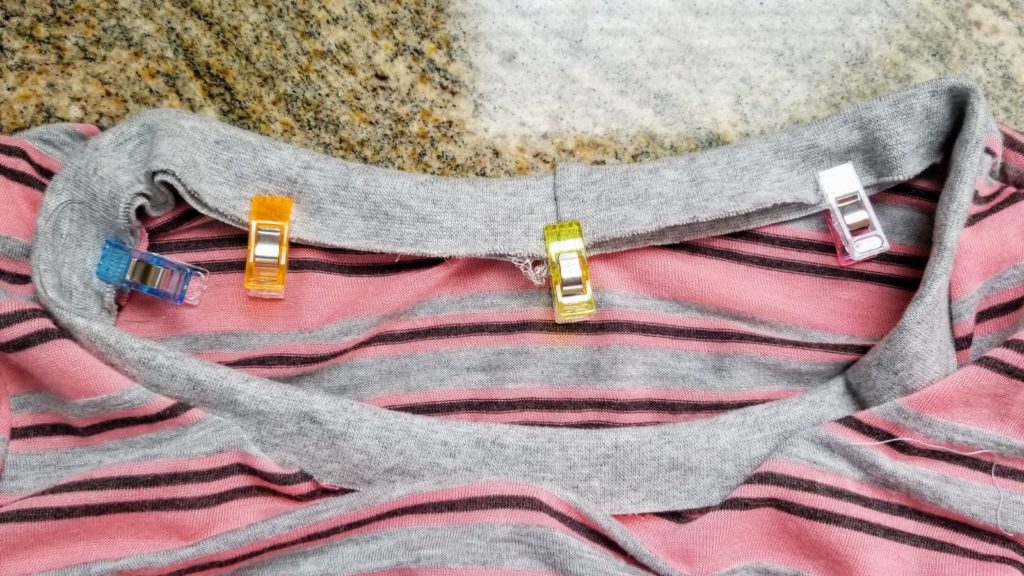
2. Quarter both the neck hole and the neck band. This is easily done by pulling opposing sides of the neckband taut, pinning or clipping, then pulling the opposite sides taut with the two previous clips/pins in the center. You should now have 4 clips/pins evenly spaced apart. The same method applies to the garment neck hole. Start by pulling the back and front of the neck band taut away from each other aligning the shoulder seams. Clip/pin the front and back points. Then pull the neckband by the sides with the previously clipped/pins touching each other in the middle. Clip/pin the sides.

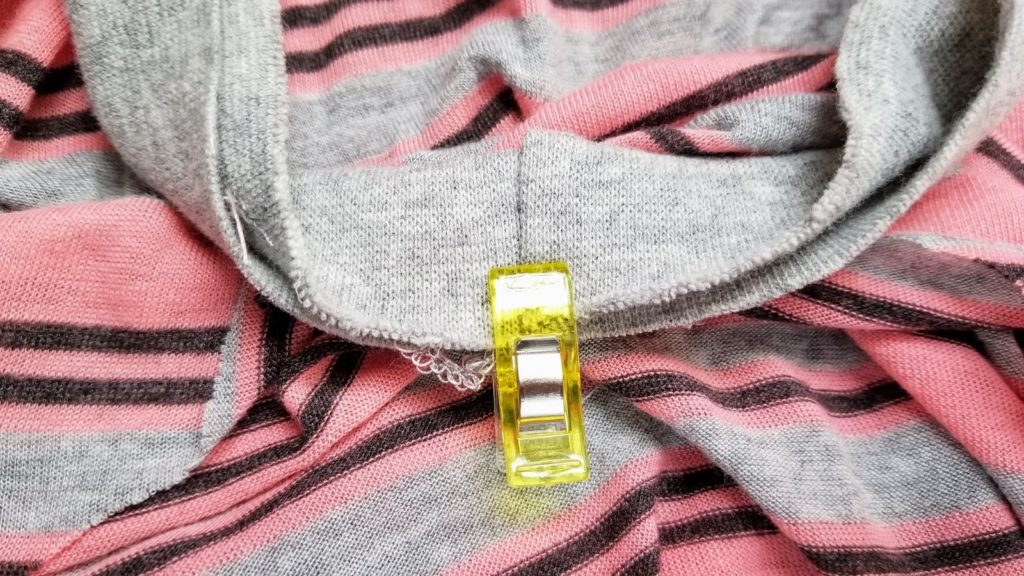
3. Starting at the back of the garment, attach the seam of the neckband right sides together with the garment. Match up each of the 4 pins/clips all the way around the neckline. The band will sit on the outside of the neck hole and all 3 layers of fabric on the raw edges will be aligned.

4. Although this step isn’t necessary, I highly recommend it for beginners or if your neckline is especially long. Pull the fabric between each clip/pin taut and pin in between the two clips/pins.
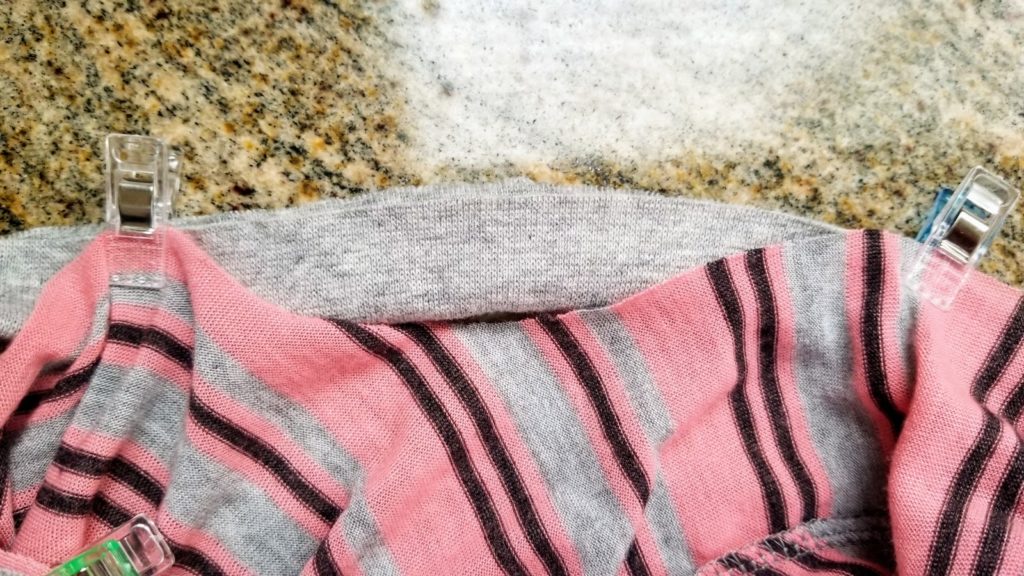


Once you have pinned/clipped all the way around, your neckband should look like the picture below.
5. You will now sew the neckband to the garment’s neck hole. Start at the back of the garment with the neckband underneath the garment fabric, and sew or serge all the way around the neck hole stretching the band so that the garment fabric lays flat. Remove each clip as you go. See the video below for detailed instructions.
Hope that helps! Let me know if you have any questions below.


How do you know what size to make the neckband as far as length and width?
I have the instructions for that in this post: https://www.letsgohobby.com/2019/05/how-to-lower-neckline.html on step 5! The measurement for the neckband would be included in a pattern. But if you need to calculate if yourself, check out that post. Hope that helps!
[…] or sew the neckband onto the garment. See Graphic below for help with this part or see my post HERE on how to attach a neckband to a […]