
Attaching buttons to garments used to be basic knowledge, but now days, it’s a lost skill to many. It’s actually quite simple, but there is a technique involved.
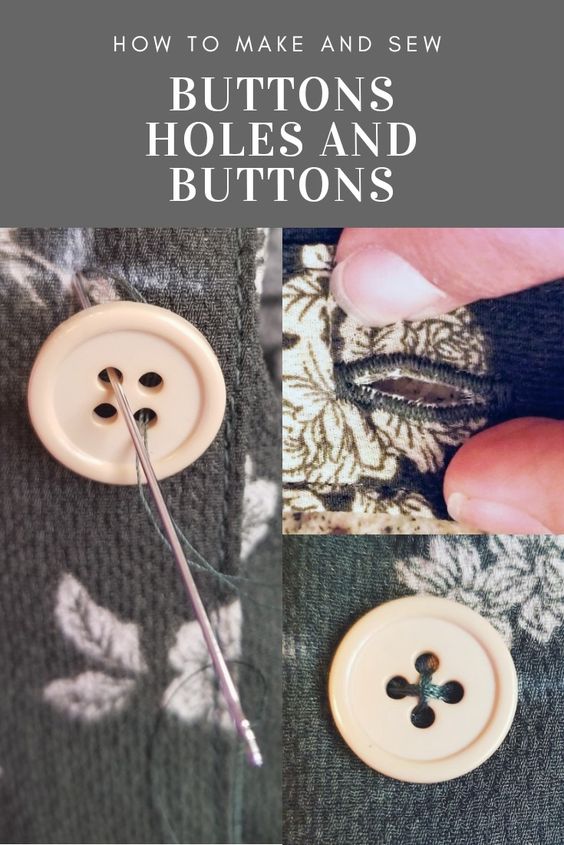
If you are sewing a garment, and then attaching buttons, you will of course need to make the button hole as well. Most sewing machines have an automatic button hole function. The garment I will be showing pictures of today is the Rebecca Page Madison Blouse (Blog Post HERE).
1. You will start by choosing your buttons and marking where you will place them. The Madison Blouse has 5 buttons and the placement is marked out on the pattern. I used tailors chalk to mark the placement on the plackets. Before you actually sew the button holes, I highly recommend testing on the same type of fabric (and with interfacing in between if using it). My sewing machine button holer starts at the bottom and goes up, so I drew a line at the bottom so I could align the button hole foot with the bottom.
 |
| Mark for Placement |
2. Set your button hole foot to the correct size. I have a Brother PC420PRW which has a button hole attachment that you actually place the button into so that it makes the proper sized hole for the button to slide into. If your button hole foot only measures the button, be sure to do that before sewing.

Many machines also have a a small arm that comes down and sits behind the button hole foot, the best thing to do is of course read the manual for your specific machine, but if you have a newer Brother machine, yours may look like this. See the plastic L shaped piece coming down on the left side? This has too be down for it to work.

3. Now line up the button hole foot with the lines you drew in step 1. Make sure you have the proper button hole setting selected on your machine. Here’s what mine looks like.

And nobody tells you this, but here is the scary part! I don’t know why, but every time I make a button hole, I get butterflies! Sew the button hole.
4. After the sewing machine does its job, you will need to make a hole in the middle of the rectangle of stitches. You can use a small pair of scissors or a seam ripper to do this, you will cut or snip right up to the edge of the stitches, being careful not to cut any threads.


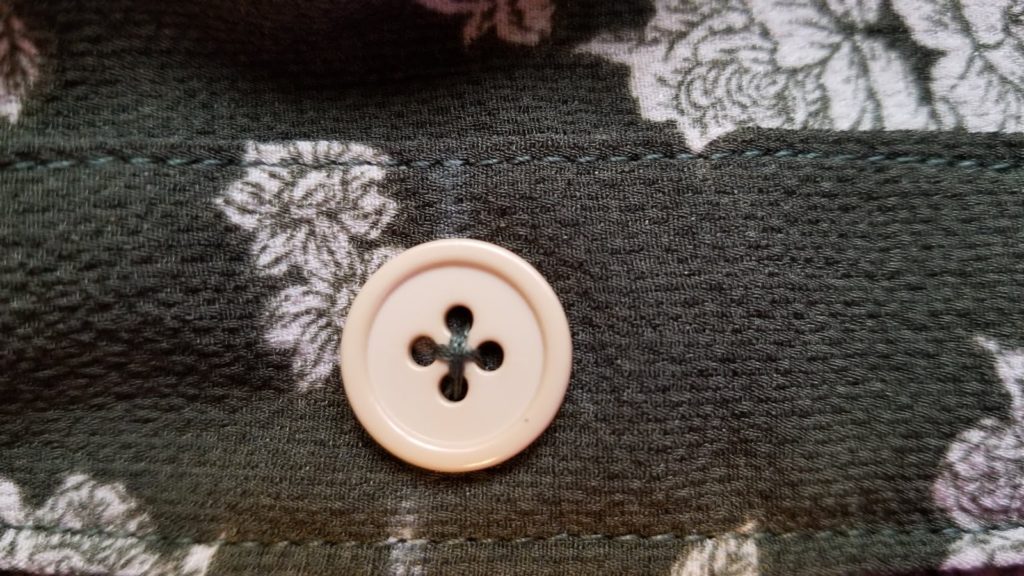
To sew a button on, all you need is a needle, a pin, thread, scissors, and of course, the button! Make sure to match your needle type with the fabric type. Meaning, if you are sewing through basic woven fabric, use a universal needle. For knits, choose a ball point needle. If you have a delicate fabric that easily shows holes, be sure to use a small needle. You’ll notice on most rtw clothing, that the thread color is matched to the button color, but when you sew for yourself, you can choose any color you want! The buttons can have 2 or 4 holes, it doesn’t matter. So without further ado, here are your step-by-step instructions:
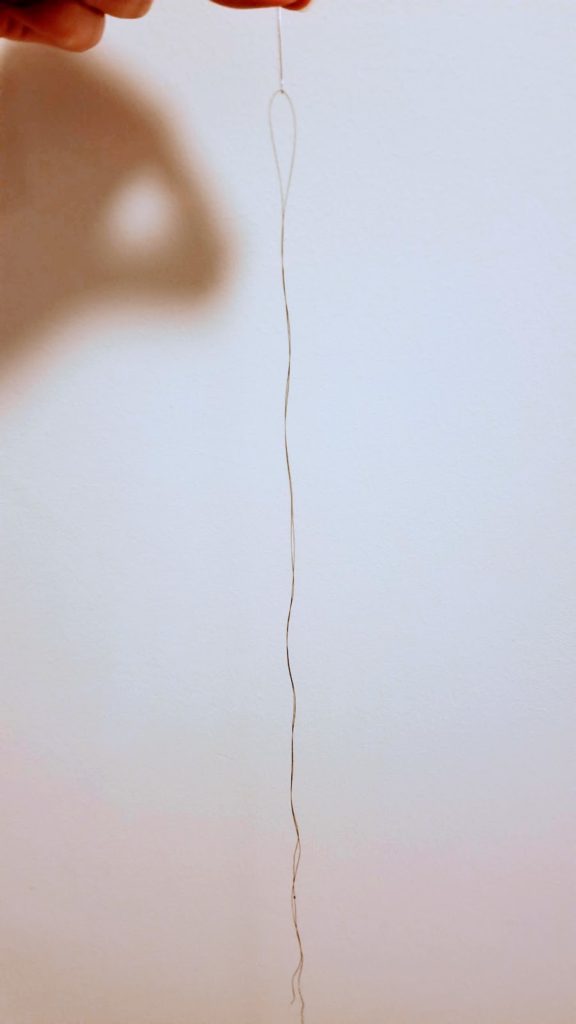
1. Pull out a generous amount of thread, then thread your needle and pull both sides of the thread even with each other so that that needle is in the center of the thread length. Now tie a knot at the end of the two strands of thread. If you are sewing on loose knit, you may need to tie a few knots to ensure the knot will not pop through the fabric.
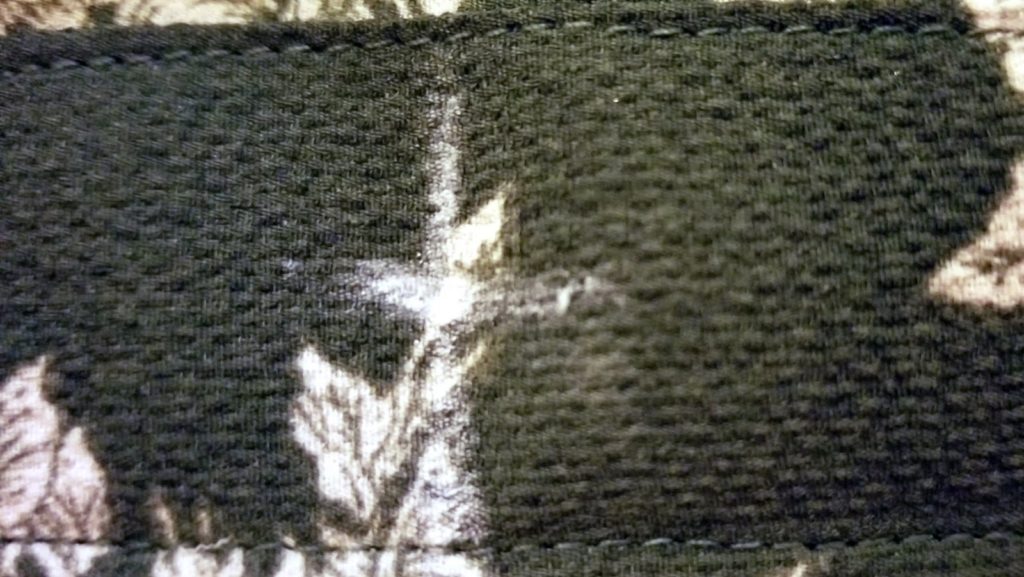
2. If you haven’t already marked where the buttons need to go, do that now. If you sewed button holes on your project first, be sure that they align with where your buttons will be. On the Madison Blouse, I lined up the plackets and marked through each button hole with tailors chalk. Then made a horizontal line across to ensure I had the correct button placement.
 |
| Using tailors chalk to mark button placement. |
3. Starting from the wrong side of the fabric, poke your needle up through the center of the place you want your button to be. Then thread the needle through one hole of the button. Be sure to pull the thread all the way through so that there are no loose loops underneath. At this point you can place another needle or a pin either on top of the button or just underneath it (between the button and right side of fabric). The purpose of the the needle or pin here is to allow space to wrap the thread around the bottom of the button to create a shank. A shank is made to allow the button to have some movement and more easily be slid into the button hole. If the button were to be sewed with no give flush to the fabric, it would be difficult to do up the button.


 |
| Needle for shank not pictured |
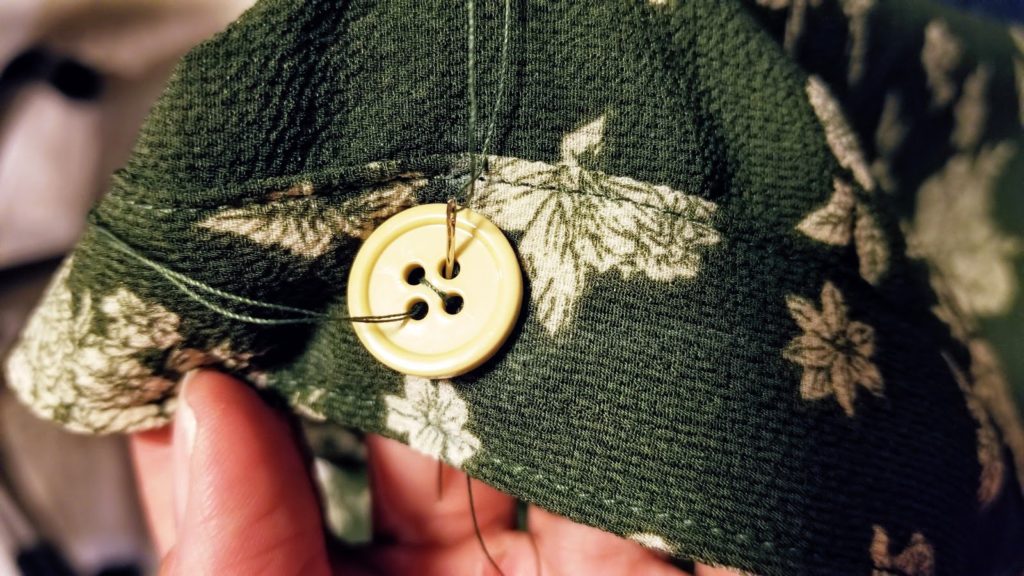
4. After you have added your pin or needle across or under the button, take your threaded needle down through the diagonal hole in the button and then back down through the fabric. If you are using a 2 holed button, you will come back up through the same hole and back down about 6 times. For a 4 holed button, poke your needle back up through the same hole in the fabric, but this time thread the needle through an empty hole in the button. Take your threaded needle back down through the diagonal hole. Repeat approximately 6 times.
 |
| Needle for shank not pictured |
5. Now to create the shank. You should have your needle on the wrong side of the fabric. Push the needle up through the fabric but, come out to the side of the button. Remove the sideways needle or pin that you placed in step 3. Pull up on the button, then loop your threaded needle around the underside of the button 6 times. Push the needle back through the fabric to the wrong side.


6. You’re almost done! Still on the wrong side of the fabric, take your threaded needle underneath the sewed thread and out so that you have a loop. Put the needle through the loop to make a knot. Repeat this once then trim your threads. Finished!
Practice this a few times and you’ll have it down. Check out those buttons!


[…] and button holes! By the way, if you do decide to make the button up version, you can check out my How To Button Tutorial Blog Post if you’d […]