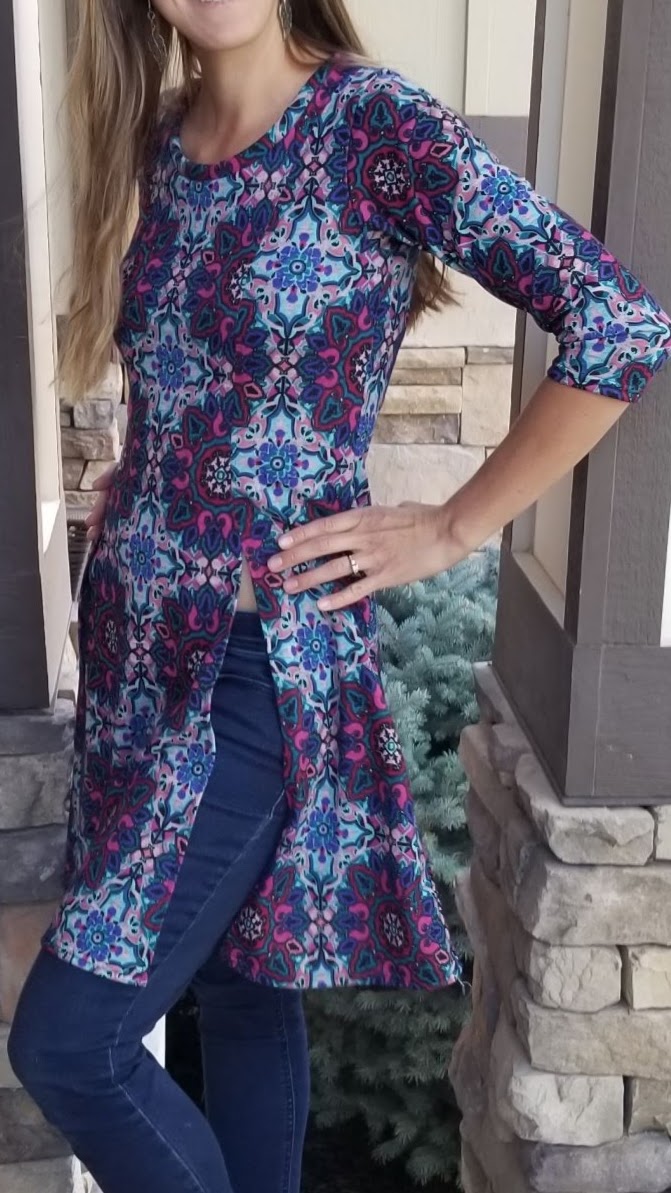
Most sewing patterns for women are made for an average height of around 5’5″-5’6″ depending on the pattern company. So what should you do if you are 5’1″ or 6′? Well, you could just leave the pattern as is…but, then you would be wearing clothes that don’t fit quite right, just like most of the clothes you get from retail stores (known as rtw in the sewing world). It’s actually not too difficult to add or subtract length to a garment.
Some pattern makers will include a “lengthen or shorten here” line (or add/subtract line) on the actual pattern. This is convenient, since you don’t have to worry about where to add or subtract the length anymore. However, it isn’t always this simple. And actually, adding or subtracting all your height in one spot might not always work out well.
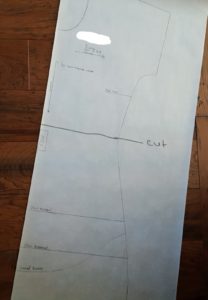
Clear as mud? Okay, let’s expound on it. Look at this basic camisole from my previous post. Let’s say the designer put the add/subtract line just above the natural waist. And I should mention, the rule is, for every inch you are taller or shorter than the pattern’s intended height, you will add/subtract a half an inch. Now, if you are only 2 inches taller than the intended height, you will add 1 inch of space on the pattern at that add/subtract line. That should work out great.
But, let’s say you are 6 inches taller than the pattern height, and you add 3 inches at that add/subtract line. Now you have dropped the part of the pattern that is supposed to hit at your natural waist down three inches. The possible issue here, is that a person’s height isn’t carried only in one spot. What about the extra height above the bust line and below the natural waist line? On a fitted garment, if you drop the natural waist down 3 inches, but your natural waist is actually only 1.5 inches lower, then now you have a slimmer part of the garment hitting the top of your hips where it should be starting to ease out. And if you carry more height above your bust, now the straps on your cami would be too short because you wouldn’t have added any length there (in a shirt, this would cause the bottom of the armscye to rise up into your armpits where it doesn’t belong).

- Cut another line 1″ above that and then tape it together with that 1″.
- Or, you can slide the bottom and top papers of your pattern together so that they overlap each other by .5 inches.
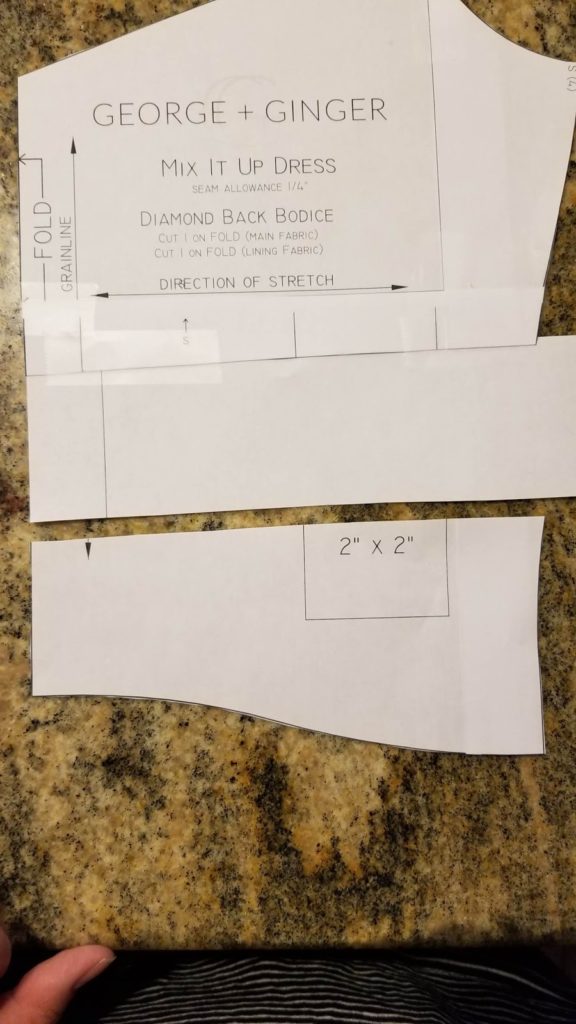
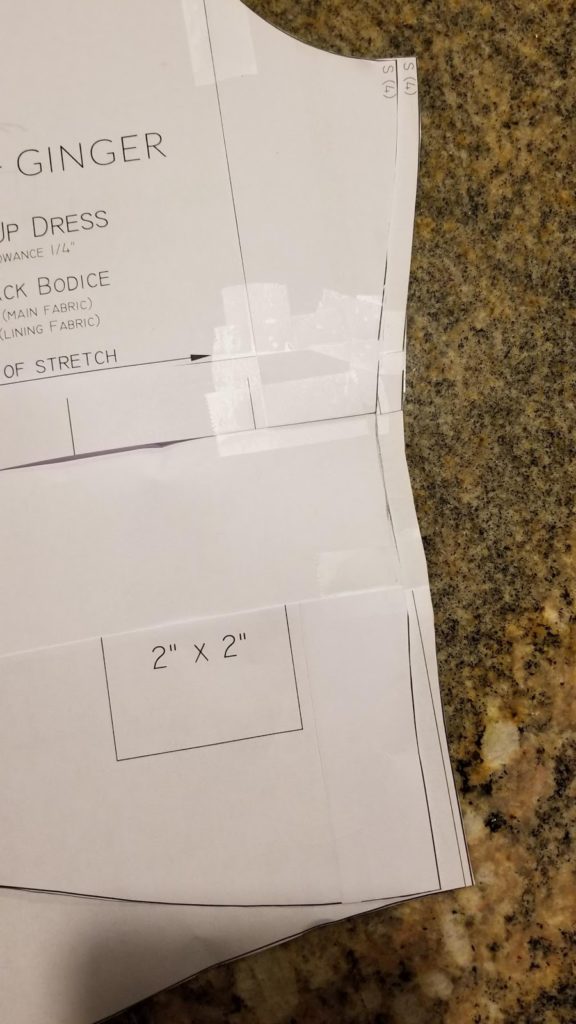
Here’s how you add extra length in. There was no lengthen/shorten line on this bodice in testing, so I added the length just above the narrowest part of the bodice.
Draw a line connecting the top and bottom cut bodice pieces.
Then cut it off.
For pants and skirts, it’s really the same concept. If there is a lengthen/shorten line, use that as your base. But, you can add/subtract length from a few different sections of the garment for best fit, especially if the garment is doesn’t have much ease.
One more thing that I want to mention is that even though 2 people can be the same height, they may carry that height in different ways. For example, I’m lucky because I’m 5’5″, so I don’t have to do a ton of altering for height on patterns for me. However, I have a longer torso than most patterns are drafted for. My side waist measurement is 10,” whereas most patterns are designed with around an 8″ side waist. So I do have to add length to patterns that need to hit below my bust or at my natural waist specifically. Another person the same height, may carry their height opposite than how I do. So, perhaps they always have to add length for their pants patterns even though they are the same height as the pattern intended.
Well, that’s all I have for this post. I hope it helps!


