
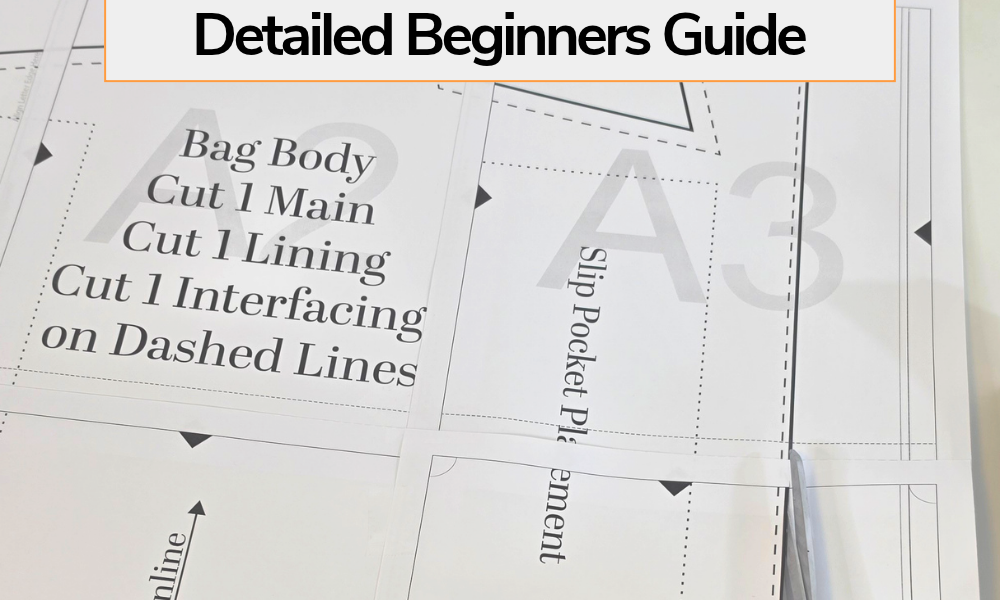
The first step to using PDF patterns is to decide if you will print it or project it. If you choose to project it – you can find some tips on Projector Sewing HERE.
If you’d like to print your pattern, follow along with the steps below:
Table of Contents
Open the File With the Correct Software
After downloading the A4 Letter PRINT FILE – you will need to open the file with a good program where you can select the correct layers and print the PDF sewing pattern to the correct scale. I recommend downloading Adobe Reader for this. It’s a well known company and the program is free. You can find the download link on their website here if you need it – https://get.adobe.com/reader/.
Choose the Layers
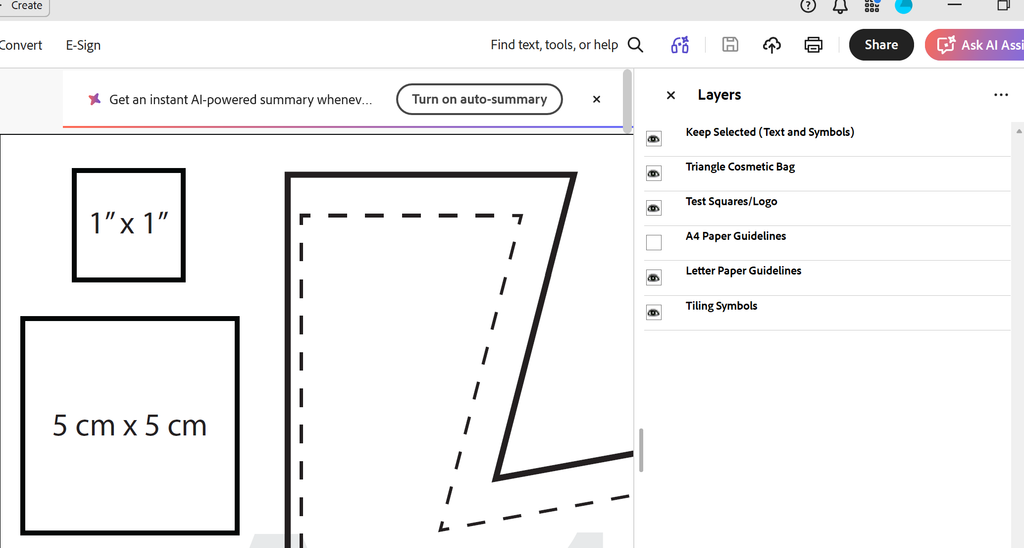
For a sewing pattern with multiple size layers, you may choose to print all of the layers or choose to only print the layers that you’ll need to cut. You can find the layers options within Adobe Reader on the right side toolbar. It looks like two stacked diamonds.
After opening the Layers Menu, you can select which sizes you want, and whether you want the Letter or A4 Guidelines visible (That means Letter Sized Paper – generally used in the North America and many surrounding countries or A4 Sized Paper – Generally used everywhere else).
The Eye Icon in the Box denotes that that layer will be visible on the print out.
Printer Settings to Print PDF Sewing Patterns
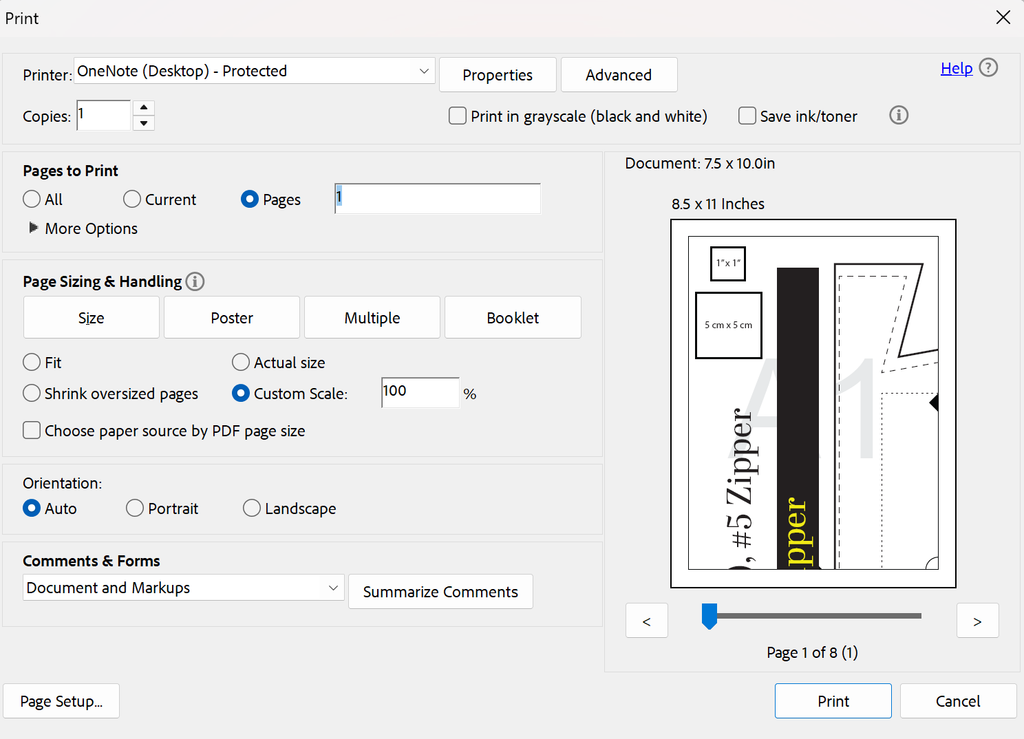
For Page Sizing and Handling, it should be set to “Actual Size” or “Custom Scale” with “100” for the percent.
Orientation should be set to “Auto” or “Portrait”.
Under the Pages to Print section, you can select “Pages” and only print the pages you need for the sizes and options you are wanting to use.
Check the Scale
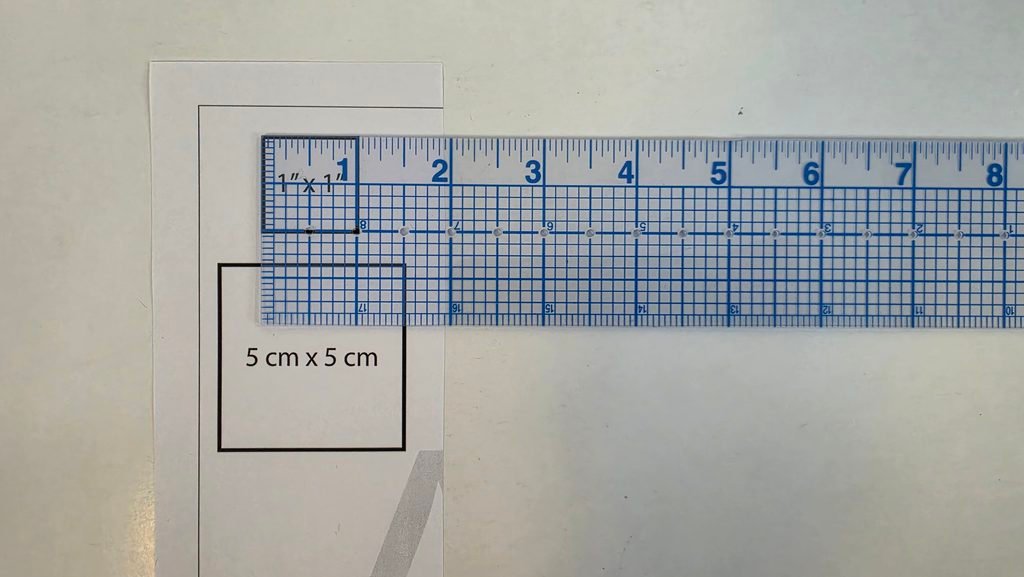
I recommend printing only the 1st page first so that you can check the scale with the ruler.
Both a 1″ x 1″ box as well as a 5cm x 5cm box are included so that you can measure in imperial (inches) or metric (centimeters). Be sure to measure both the height and width of the box. If the box is more of a rectangle instead of a square or if it’s a little bigger or smaller than the correct size, you need to correct it before moving on.
Some printers are finicky and you’ll need to change your printer settings to ensure that the pattern prints to the correct scale. Most of the time, your box will measure correctly with the printer settings shown above, but it’s good to measure just to be sure.
How to Assemble the Printed Pages
Keep in mind that at home printers always have a margin area around the edges where the printer cannot add ink. So these areas will be blank. You do not need to trim the edges unless you buy a PDF pattern that is not trimless. Go Sew Patterns are trimless patterns, so there is no need to cut any of the margins off.
Start with Page 1 and Page 2 – that’s A1 and A2 on Go Sew Patterns.
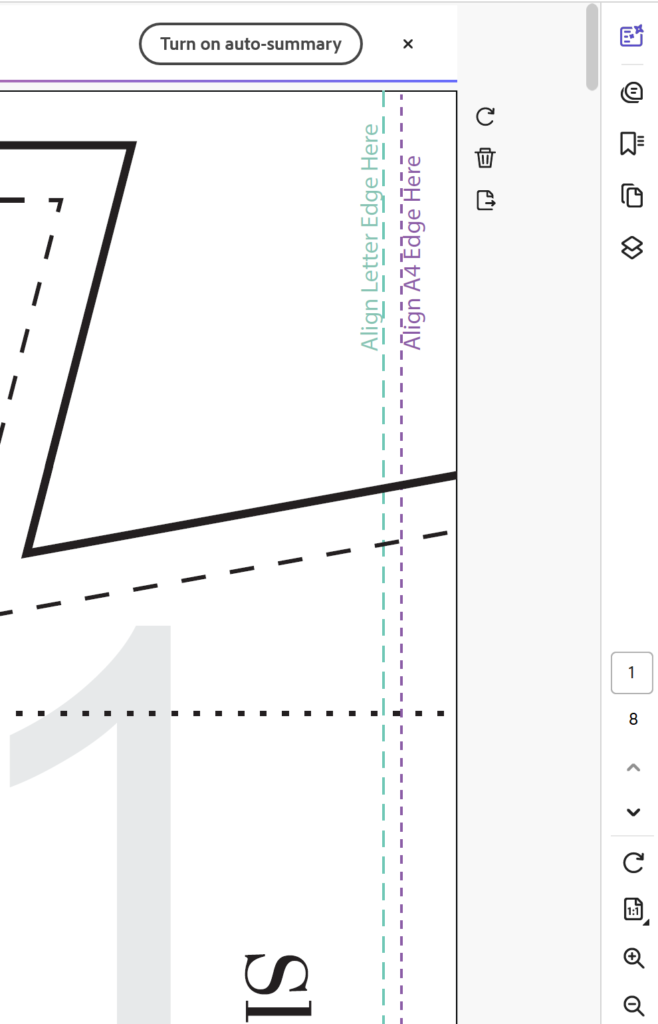
You’ll align the left side of page 2 (A2) on top of the right side of page 1 (A1). Align the edge of the Page 2 with the guidelines of your paper size on Page 1 (to the Letter or A4 printed guidelines).
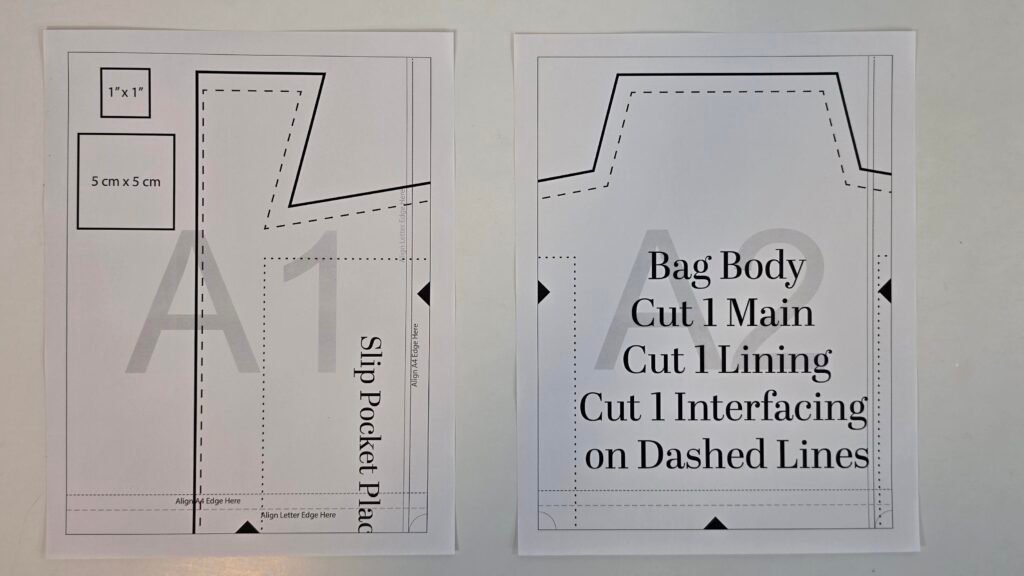
I like to use scotch tape to tape the papers together, but you can choose to use a glue stick if you prefer.
Next you’ll add Page 3 of the row (Page A3), again aligning the left side of page 3 to the right side of page 2. Tape or glue into place.
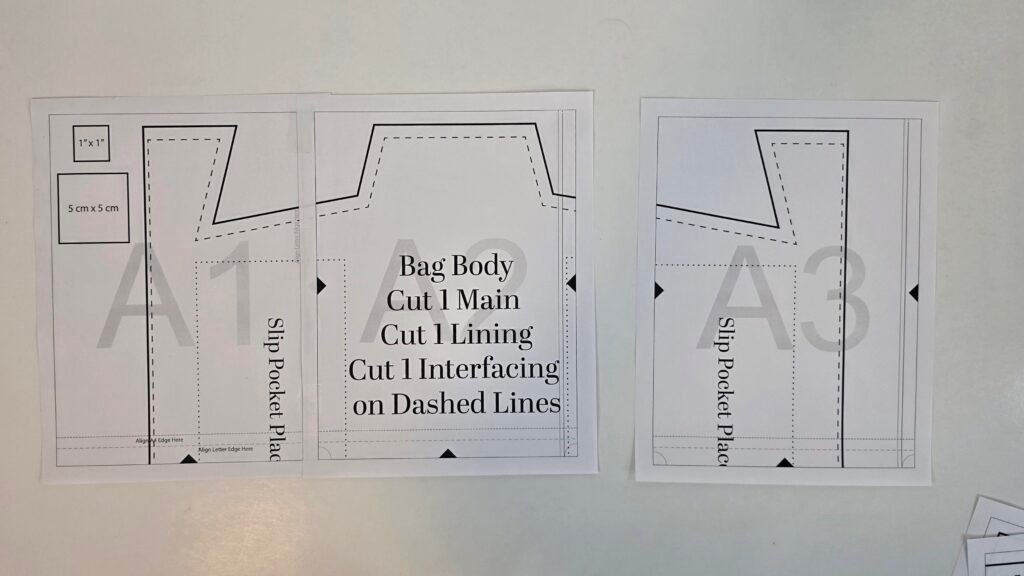
Continue assembling the first row until it’s time to drop down to the second row of papers. For Go Sew Patterns, you’ll know when it’s time to move onto row 2 when you see the next letter.
(Note: If the pattern piece does not span across two pages, you don’t have to tape those two together. You can see in the picture below that I did not tape page A3 to page A4 because there was not pattern piece going across that area).
In the next row you’ll have B1, B2, etc. The second row is taped on top of the first row. Align the top of the page on row two with the guidelines printed on the bottom of the page on row one.
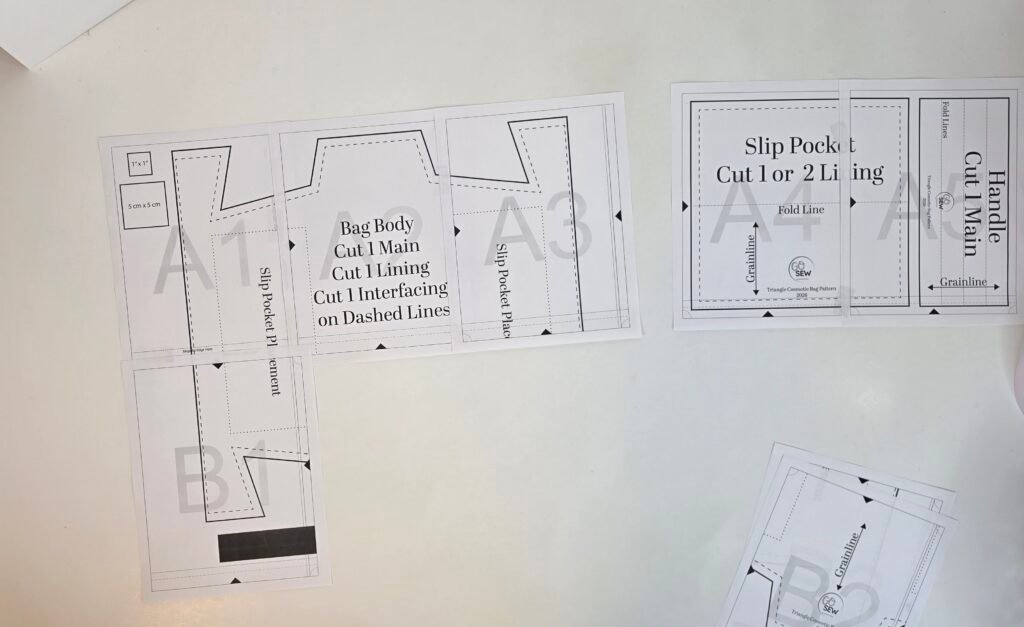
Once you have all your pages taped or glued together, you can cut out the pattern. I like to cut it so that the outer black lines of the pattern are still visible all the way around.
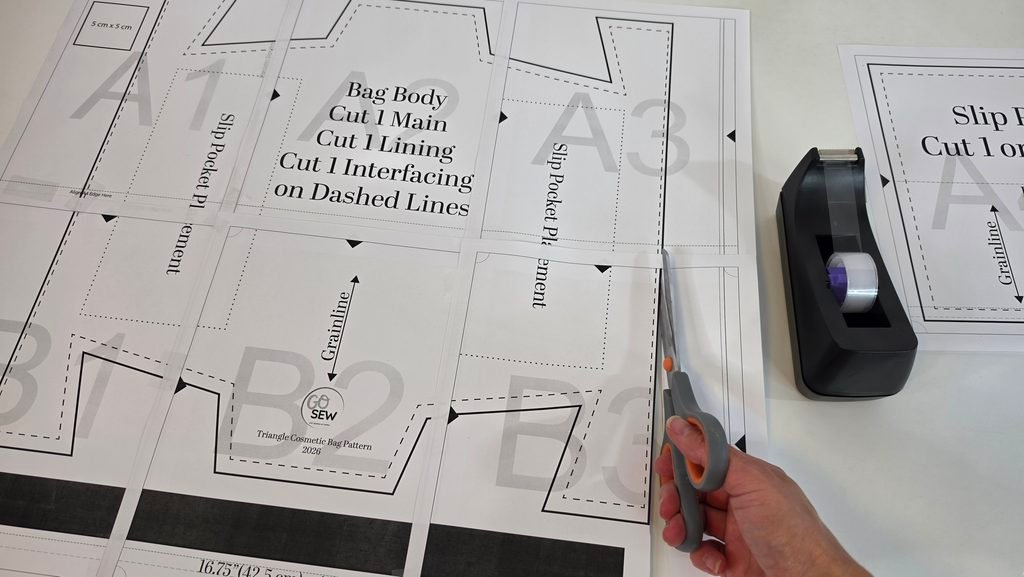
Once you have everything cut out, you can start cutting your pattern pieces!
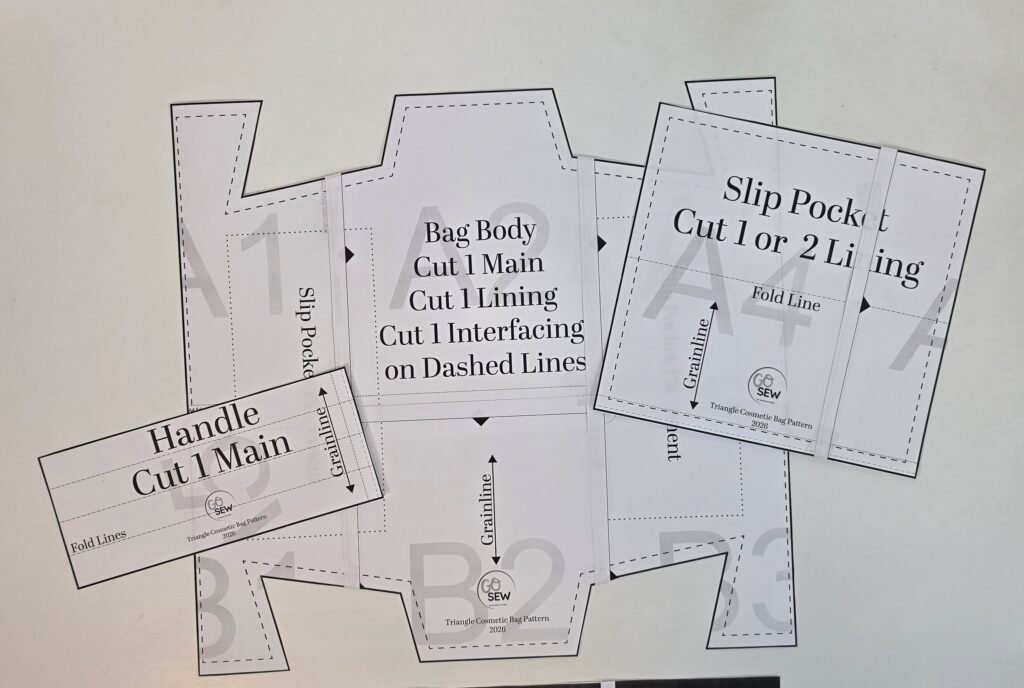
It’s as easy as that!
If you have questions, please as them in the comments below.
Happy Sewing!


